
2018 Update: I recently posted detailed assembly instructions for these ornaments at http://pinwheelponders2.blogspot.ca/2018/03/snow-globe-ornament-tutorial.html
The designs were stitched on 22 count hardanger.
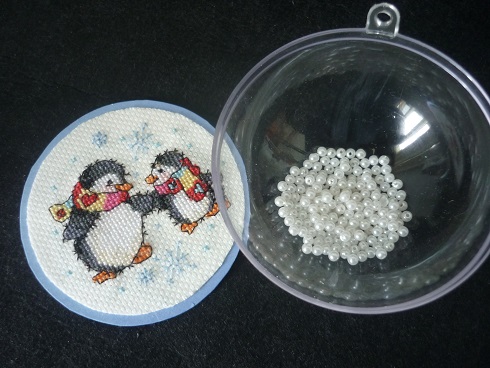
I used a glue stick to adhere the stitched pieces to squares of white card stock. Then I drew 2 1/2 inch circles on the back of the cardstock and cut out the circles. I glued these card stock circles to both sides of a 2 3/4 inch blue card stock circle.
The "globe" is made from two pieces of 70 mm diameter plastic.
For the snow I used some pearl beads that I had on hand but I suspect that they might scratch the inside of the ball. (If I make more of these ornaments I'd like to find some 2 mm white pom poms.) I put a spoonful of beads into the half of the ball that has a ledge inside ...
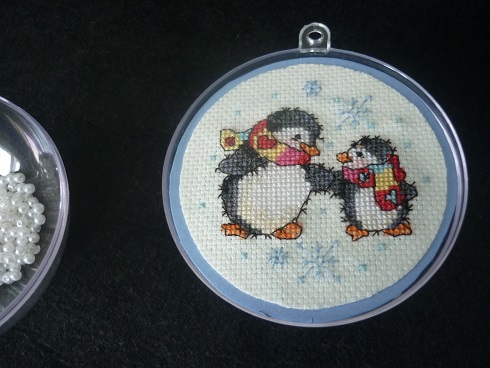
... and inserted the stitched piece so that it rested on the ledge. (And the top of the design was at the top of the ball.)
I placed a spoonful of pearl beads on top of the stitched design...
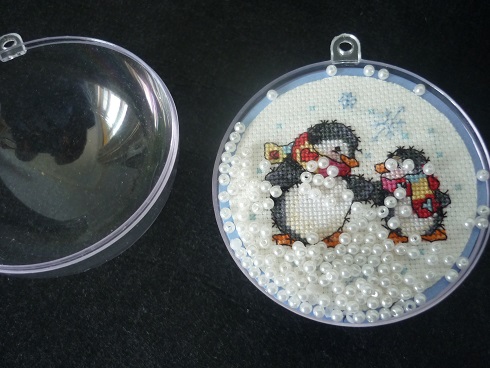
... and then put the other half ball on top. The ball is held together by the ribbon tied at the top but if I decide to make more I will research what kind of glue would better fuse it together.
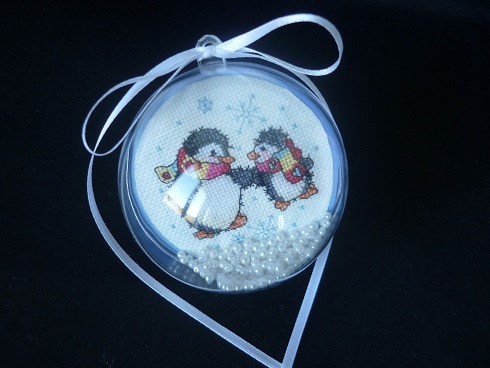
I like having the blue circle around the stitched piece but the design seems a bit too close to the edge so if I do this pattern again I might use white card stock for all of the circles. (I don't want to use a bigger ball and I don't think I have the option of stitching this design over one on 25 or 28 count fabric because some of the backstitches are 1/4 stitches.)
November 2017 Update

I've recently made 17 more snow globe ornaments and some time in the future I plan to create an illustrated tutorial. In the meantime I'll mention a few things that I have done differently than last year.
1/ I didn't cut the stitched fabric and the cardstock backing at the same time. Instead I glued the stitched pieces to white cardstock circles and when the glue was dry I applied a little fray check. When that was dry I cut the fabric to the same shape as the cardstock circles.


2/ I used foam beads (from a dollar store neck pillow) instead of pearl beads.
3/ I applied a bit of model glue to the hanger part. I lined up the two hanger parts, and used the thumb and forefinger on one hand to squeeze them together. Then I used my other hand to squeeze the center of the ornament together. I held them together for the amount of time recommended by the glue manufacture and then cleaned the fingers that had been squeezing the hanger parts. (Do this even if you don't think that you got any glue on your fingers because if there is a trace of glue and you touch any part of the ornament you won't be able to remove the smear from the ornament.)

I will also mention that I think that the fussiest part of this ornament was cutting the blue cardstock so that it was small enough to fit inside the ornament and yet big enough to rest on the ledge inside the ornament. What I did was to carefully trace the globe half that had the ledge on the outside,

with a fine pencil


and then cut the cardstock just inside the drawn line. Then I tried it inside the ornament half that had the ledge on the inside. If necessary trimmed it a little bit smaller.

I didn't always get this right the first time and when if the circle was too small I started again.
Love it.
ReplyDelete